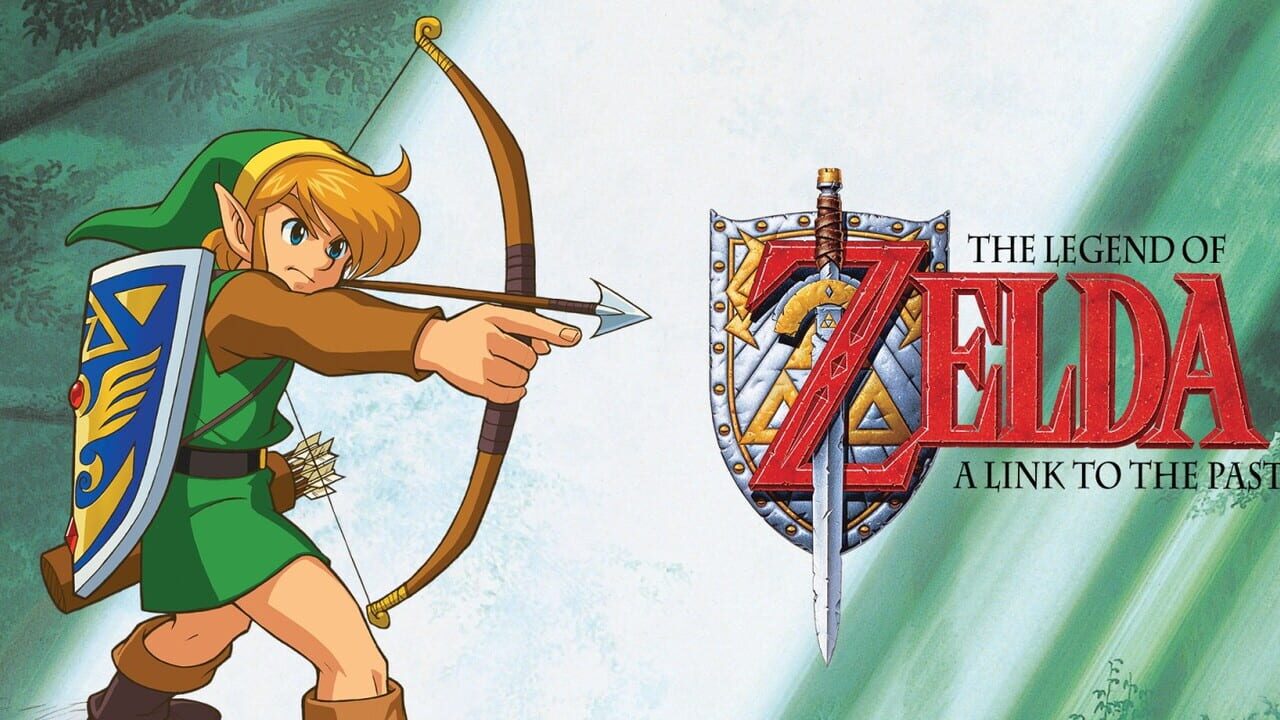
The Legend of Zelda: A Link to the Past

No Matches

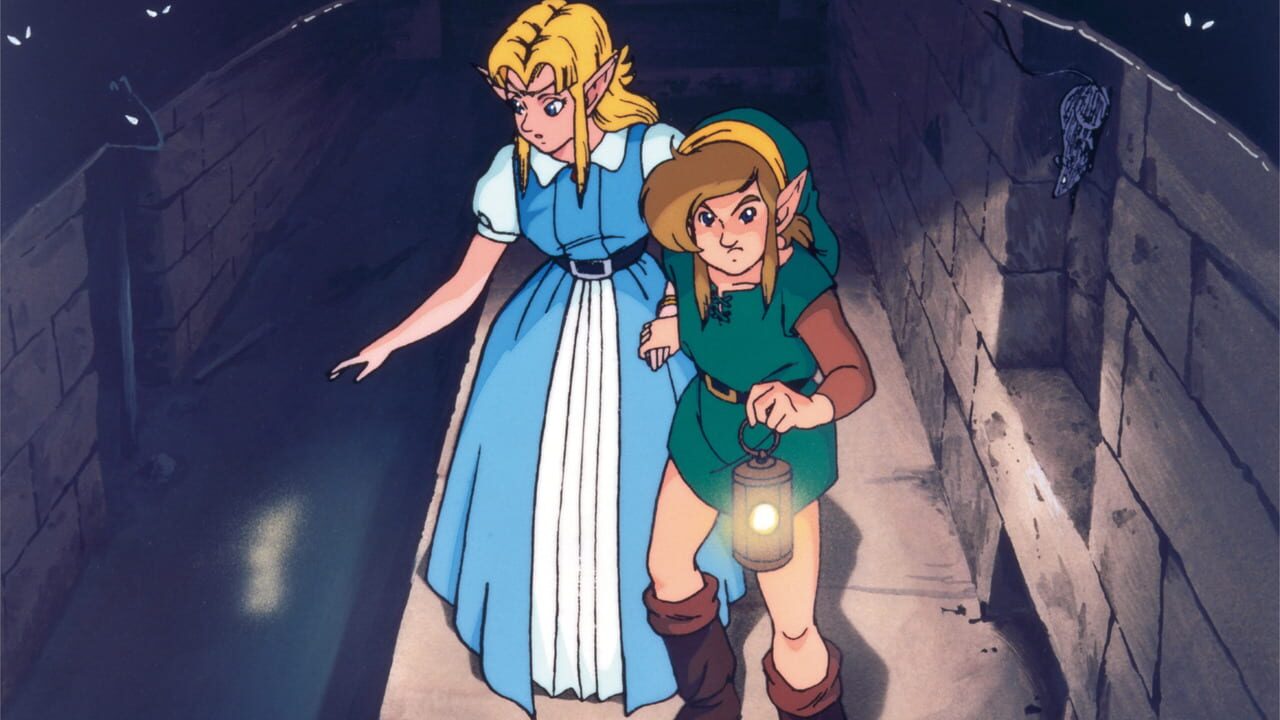
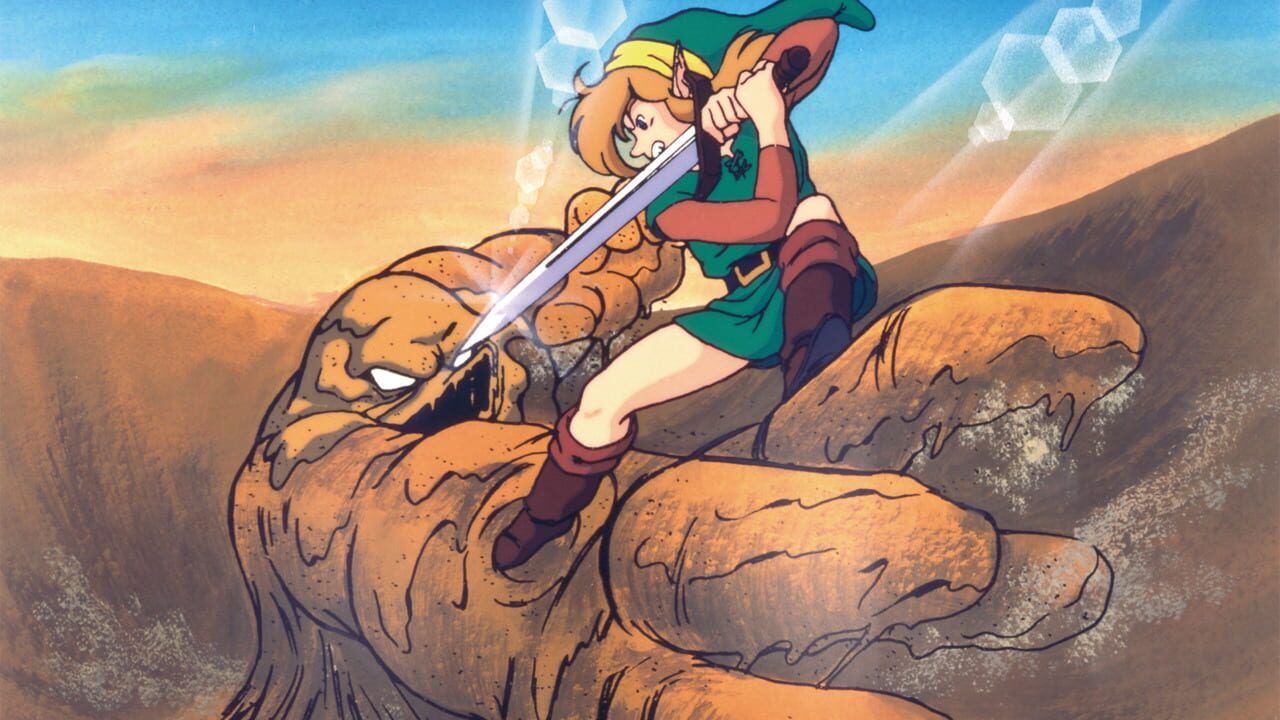
Venture back to Hyrule and an age of magic and heroes. The predecessors of Link and Zelda face monsters on the march when a menacing magician takes over the kingdom. Only you can... View More
Venture back to Hyrule and an age of magic and heroes. The predecessors of Link and Zelda face monsters on the march when a menacing magician takes over the kingdom. Only you can... View More