The Legend of Zelda: A Link Between Worlds

  • The Legend of Zelda: A Link Between Worlds video thumbnail
  • The Legend of Zelda: A Link Between Worlds Image
  • The Legend of Zelda: A Link Between Worlds Image
  • The Legend of Zelda: A Link Between Worlds Image
  • The Legend of Zelda: A Link Between Worlds Image
  • The Legend of Zelda: A Link Between Worlds Image
  • The Legend of Zelda: A Link Between Worlds Image
  • The Legend of Zelda: A Link Between Worlds Image
  • The Legend of Zelda: A Link Between Worlds Image
  • The Legend of Zelda: A Link Between Worlds Image
  • The Legend of Zelda: A Link Between Worlds Image
  • The Legend of Zelda: A Link Between Worlds Image
  • The Legend of Zelda: A Link Between Worlds Image
  • The Legend of Zelda: A Link Between Worlds Image
  • The Legend of Zelda: A Link Between Worlds Image
  • The Legend of Zelda: A Link Between Worlds Image
  • The Legend of Zelda: A Link Between Worlds Image
  • The Legend of Zelda: A Link Between Worlds Image
  • The Legend of Zelda: A Link Between Worlds Image
  • The Legend of Zelda: A Link Between Worlds Image
  • The Legend of Zelda: A Link Between Worlds Image
  • The Legend of Zelda: A Link Between Worlds Image
  • The Legend of Zelda: A Link Between Worlds Image
  • The Legend of Zelda: A Link Between Worlds Image
  • The Legend of Zelda: A Link Between Worlds Image
  • The Legend of Zelda: A Link Between Worlds Image
  • The Legend of Zelda: A Link Between Worlds Image

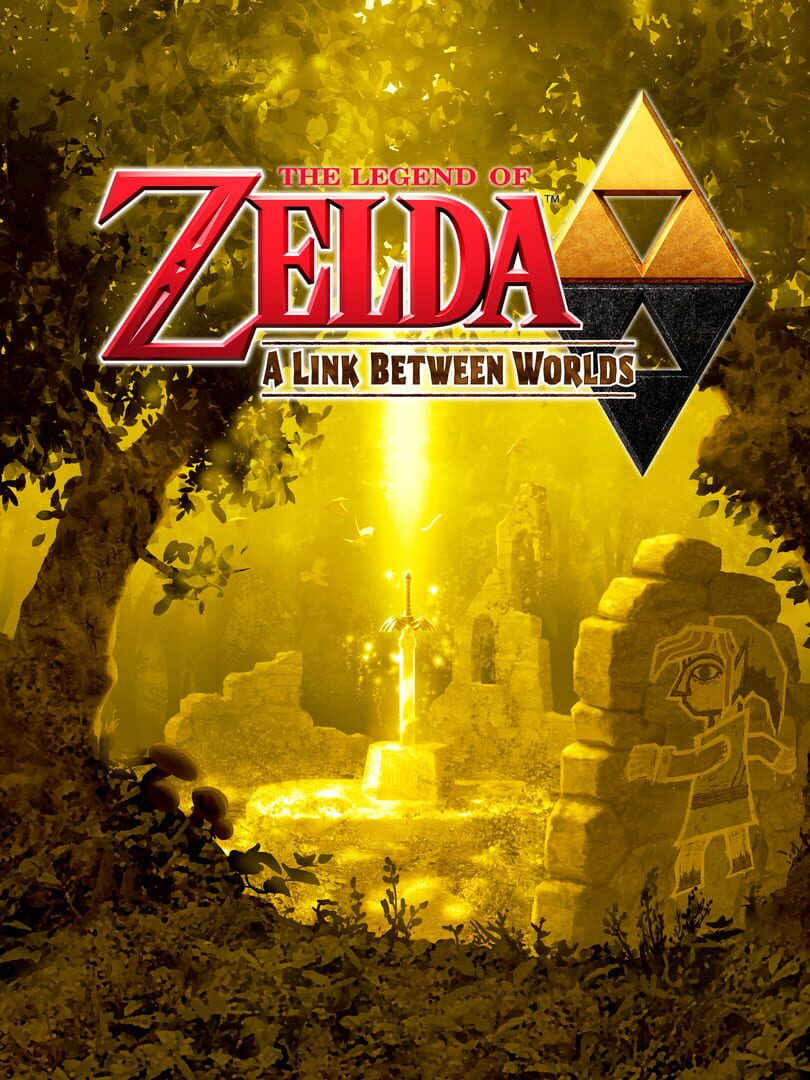
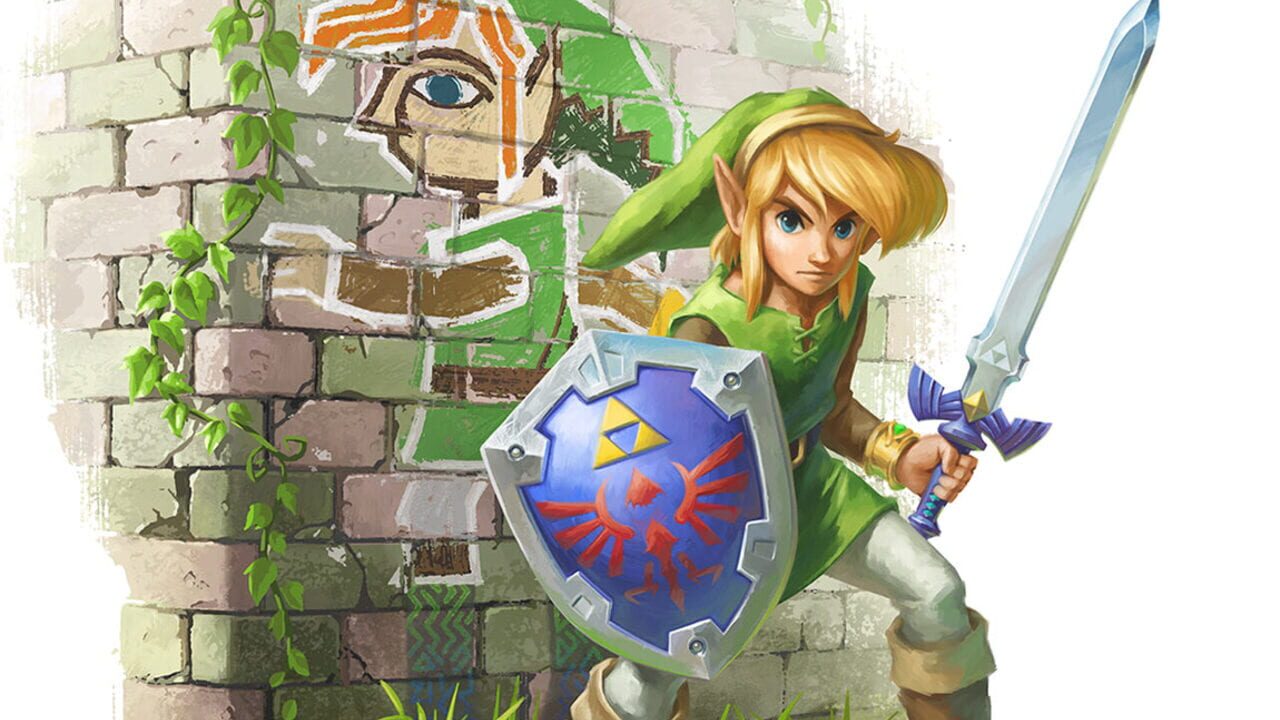
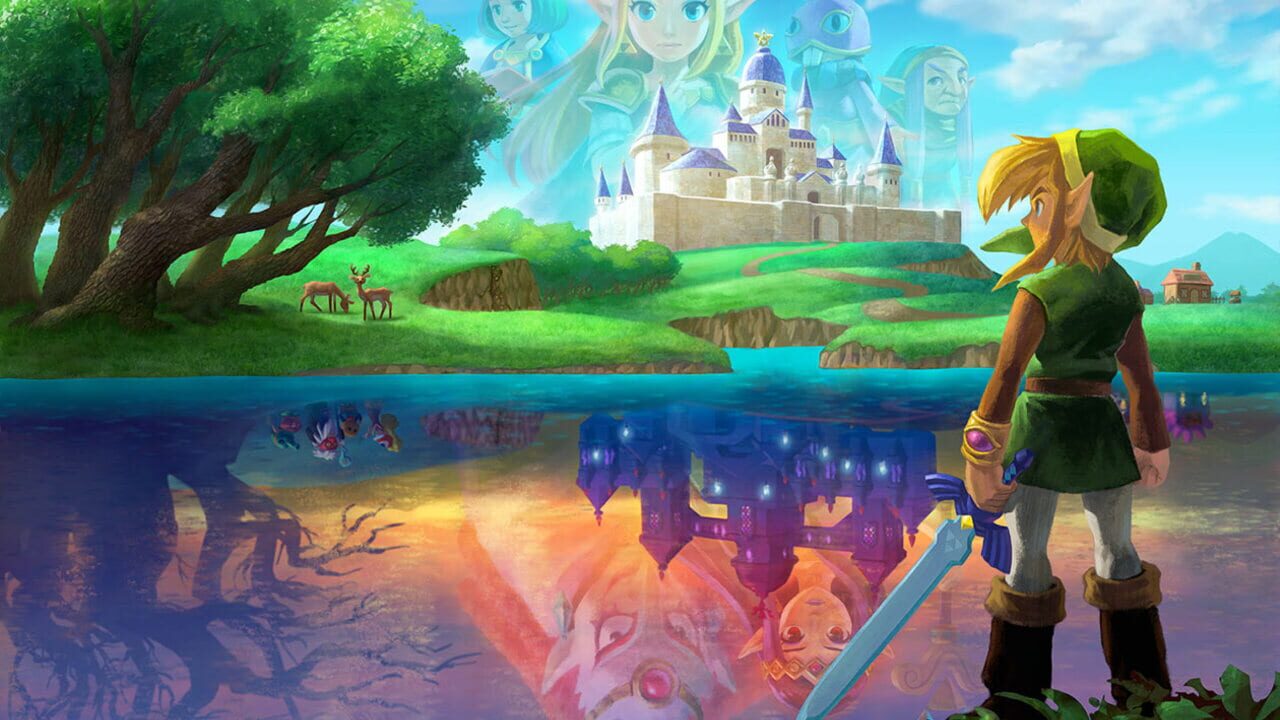
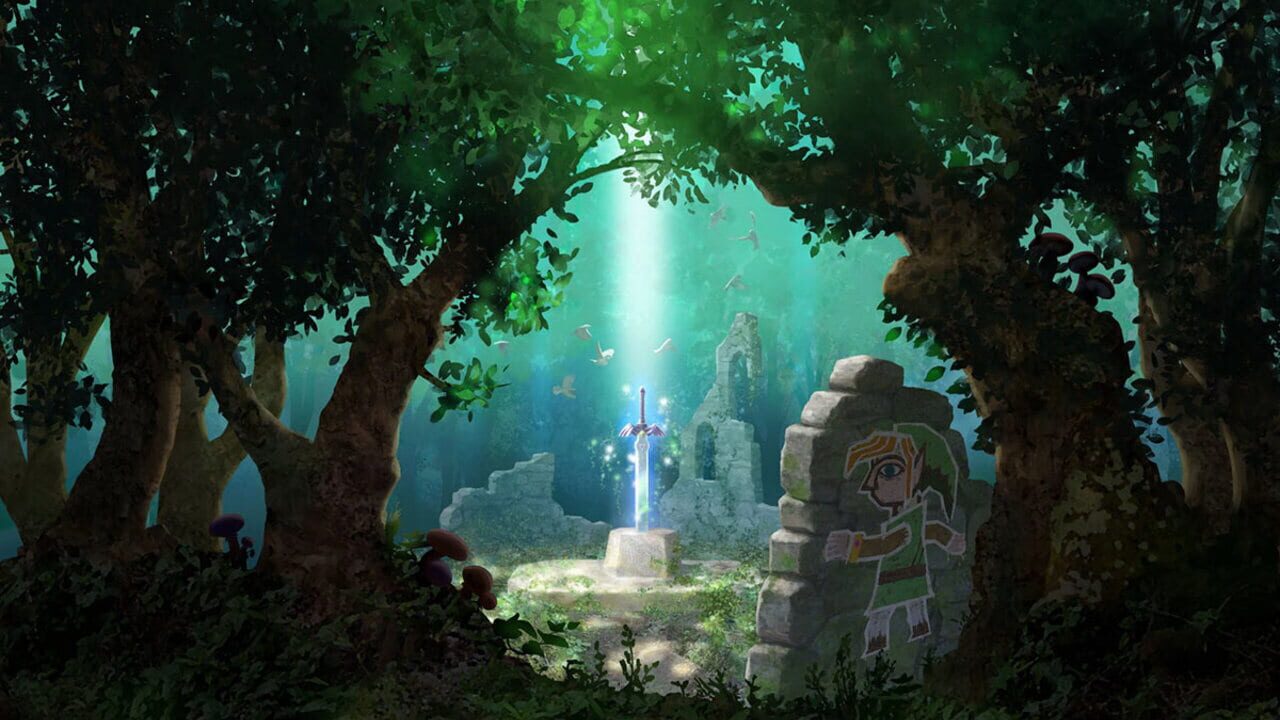
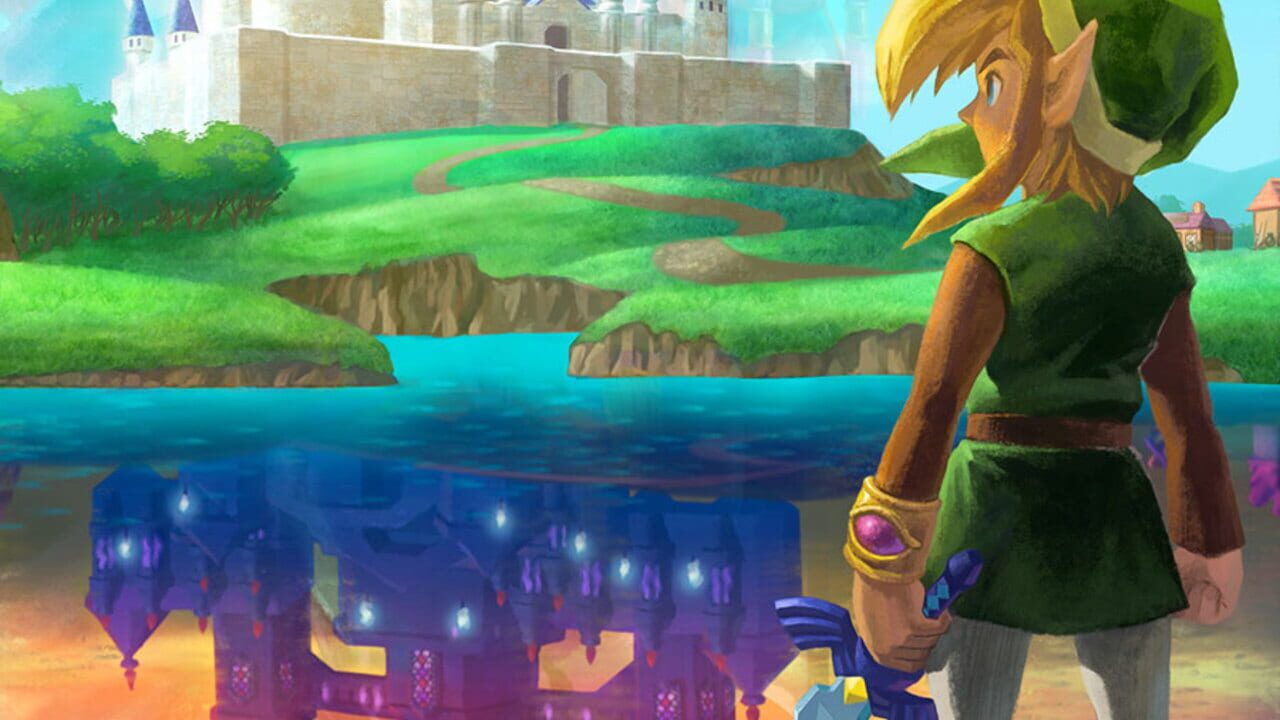
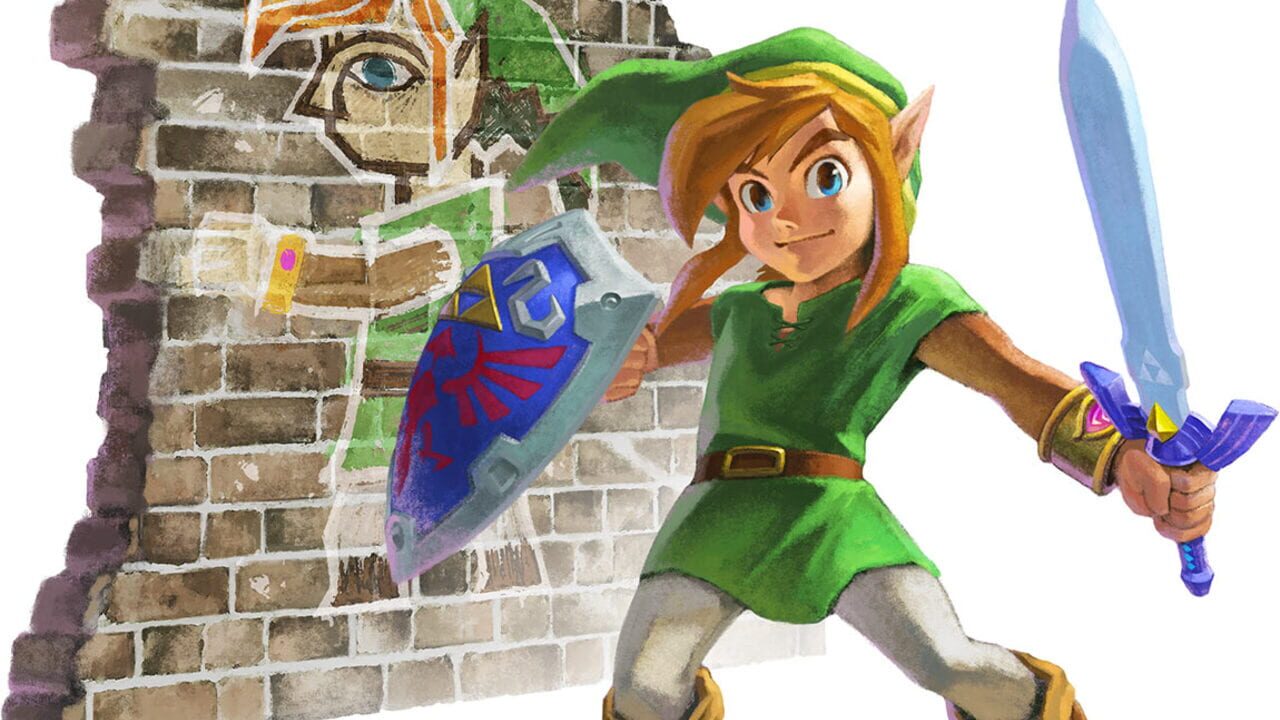
The Legend of Zelda: A Link Between Worlds is the first Zelda game made exclusively for the Nintendo 3DS. It is an indirect sequel to A Link to the Past with the same version of Hyrule but with new characters and gameplay elements. Unlike the series' tradition, many areas of the world are accessible from the beginning of the game and the dungeons can be visited in any order. Puzzles are encountered not only in dungeons but also in the open world, a part of them revolves around the game's 3D visual effect. The 3DS touch-screen display shows the world, dungeon or map depending on where you are.

The Legend of Zelda: A Link Between Worlds cover art
The Legend of Zelda: A Link Between Worlds
See detailed Availability

Detailed Availability

Full info about The Legend of Zelda: A Link Between Worlds availability on each platform
Not Included
Not Included
Not Included
Not Included
Not Included
Not Included
Not Included
Not Included
Not Included
Not Included
Not Included
Not Included
Not Included